Getting Started: What You Need to Know
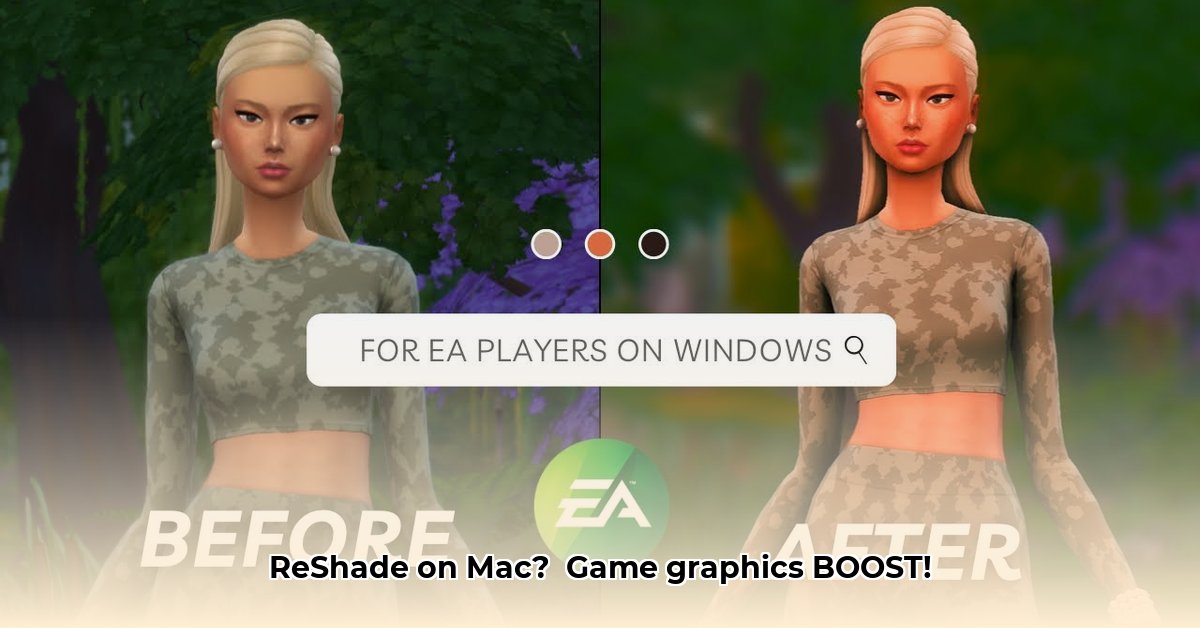
Ready to transform your Mac gaming experience with stunning visuals? ReShade, a post-processing injector, allows you to apply shaders (customizable visual effects) to your games, significantly enhancing their appearance. This tutorial will guide you through the process, from installation to advanced customization. But first, let's ensure your system is ready.
Do you want richer colors, sharper details, and more immersive lighting in your favorite games? ReShade can deliver. This tutorial breaks down the process, step by step.
System Requirements: Preparing for the Visual Upgrade
Before we begin, let's verify your Mac meets the minimum requirements for ReShade. Remember, a well-prepared system is vital for a smooth installation and optimal performance.
- Operating System: macOS 10.15 (Catalina) or later is recommended. While older versions might work, compatibility isn't guaranteed. Upgrading to the latest macOS version is highly suggested for a seamless experience.
- Graphics Card: ReShade requires a DirectX 10 or Vulkan-capable graphics card. Check the official ReShade website (https://reshade.me/) for a comprehensive list of compatible GPUs. Older graphics cards might struggle with ReShade's processing demands.
- Supported Games: Not all games are compatible with ReShade. Before proceeding, verify that your desired game is supported by checking the ReShade community forums or compatibility lists online. Many popular titles are supported, but it's always best to check beforehand.
Installing ReShade: A Step-by-Step Guide
Now that your system is prepared, let's install ReShade. We'll break this down into easily digestible steps, ensuring even novice users can follow along without difficulty.
Download ReShade: Visit the official ReShade website (https://reshade.me/) and download the latest version of the installer. The download should be straightforward and quick.
Locate Game Executable: Find your game's executable file. This is the file that launches your game; it's often located in the game's installation directory. A quick internet search for "[Game Name] installation location" will usually provide the answer. Identifying the correct file is crucial for ReShade's successful integration.
Run the ReShade Installer: Launch the downloaded installer. Select the game's executable file you located in the previous step. The installer will guide you through the process. Select the appropriate graphics API – DirectX 11 or Vulkan – depending on your game’s requirements. ReShade will often detect this automatically, but it’s best to double-check.
Choose Shaders: ReShade offers a vast library of shaders (pre-made visual effects). For beginners, selecting a pre-made preset pack is recommended. These packs offer a balanced combination of visual enhancements and performance optimization. Experimentation is key — try different presets to find your preferred aesthetic.
Configure and Test: After selecting your shaders, launch your game. ReShade will add a configuration overlay, usually accessible by pressing Home. Adjust settings like color correction, contrast, and ambient occlusion to fine-tune your visuals. Remember to save your settings once you achieve your desired look.
Beginner-Friendly Shaders: Easy Ways to Enhance Your Game
The sheer breadth of available shaders can be daunting. Here are some user-friendly options to start with:
- Adaptive Sharpen: Enhances image clarity without introducing harsh artifacts. A great starting point for a noticeable improvement.
- Ambient Occlusion: Adds depth and realism by simulating shadows in crevices and under objects. This significantly improves the three-dimensionality of the scene.
- Color Grading: Allows you to adjust the overall color palette of your game. Experiment to find a look you enjoy!
Customizing Your Shaders: Unleashing Advanced Control (Optional)
Want to delve deeper? ReShade allows for extensive shader customization. This requires understanding the ReShade FX language, a scripting language for creating and modifying visual effects. While beyond the scope of this beginner's guide, numerous online resources and tutorials are available for those wanting to learn more.
Performance Considerations: Balancing Visual Fidelity and Frame Rate
While ReShade enhances your game’s visuals, it inevitably impacts performance. High-resolution shaders or complex effects will reduce your frame rate (fps). To mitigate this:
- Lower Shader Resolution: Reducing the resolution of your shaders significantly decreases processing demands without resulting in major visual degradation.
- Disable Effects: Experiment with disabling individual effects to find the optimal balance between visual quality and smooth gameplay. Carefully evaluate the results of each adjustment.
Troubleshooting: Common Problems and Solutions
Even with careful installation, issues can arise. Here are some common problems and their solutions:
| Problem | Possible Solution |
|---|---|
| ReShade won't install | Double-check that you selected the correct game executable. Reinstall ReShade. |
| Shaders don't load | Verify ReShade is enabled in-game. Check shader installation and file paths. |
| Game crashes after installation | Lower shader resolution, disable some effects, check for driver updates or conflicts. |
Advanced Techniques (Optional): Exploring Further
Once comfortable with the basics, consider exploring more advanced techniques:
- UI Masking: Selectively apply effects, enhancing only the game world while leaving the user interface untouched.
- Custom Shader Packs: Create and share your own custom shader combinations.
Conclusion: Elevate Your Mac Gaming Experience
By following this guide, you’ve learned how to enhance your Mac games' visuals using ReShade. Remember to experiment, optimize your settings, and enjoy the visually improved gaming experience. Happy gaming!
Resources: Further Learning and Community Support
- Official ReShade Website: https://reshade.me/
- ReShade Forums: (Link to relevant forums – search for "ReShade forums")
⭐⭐⭐⭐☆ (4.8)
Download via Link 1
Download via Link 2
Last updated: Wednesday, April 30, 2025